-
728x90
사실 부트스트랩 같은 CSS 프레임워크를 사용하면 인라인 스타일을 적용하기 때문에
코드 가독성이 떨어져서 많이 사용하는 편은 아니지만,
나 혼자 프로젝트를 만들 때 쉽게 커스텀하기에는 너무 좋은 프레임워크 같아서 리액트에서 사용해보려고 한다.
먼저 리액트 설치 방법
자세한 건 공식 문서 확인!
Tailwind CSS - Rapidly build modern websites without ever leaving your HTML.
Tailwind CSS is a utility-first CSS framework for rapidly building modern websites without ever leaving your HTML.
tailwindcss.com
1. react tailwind css 설치 및 설정
npm install -D tailwindcss
npx tailwindcss init
위 코드로 패키지를 설치를 해주고
tailwind.config.js 파일이 생성되는데 라이브러리 별로 설정 방법이 다르기 때문에 꼭 위 설치방법을 확인해야하며
리액트를 사용할거였기 때문에 아래 처럼 설정하여 모든 파일에 적용 시켰다.
/** @type {import('tailwindcss').Config} */
module.exports = {
  content: [
    "./src/**/*.{js,jsx,ts,tsx}",
  ],
  theme: {
    extend: {},
  },
  plugins: [],
}
./src/index.css 파일 또한 내용을 다 지우고 아래 코드 CSS 파일을 가져와 주고
@tailwind base;
@tailwind components;
@tailwind utilities;
index파일에 css를 전역적으로 적용될 수 있게 해주면 설정 끝!
import "./index.css";

const root = ReactDOM.createRoot(document.getElementById("root"));
root.render(
  <React.StrictMode>
    <App />
  </React.StrictMode>
);
2. react-native tailwind css 설치 및 설정
리액트 네이티브도 설치 방법은 비슷하다
https://www.nativewind.dev/guides/babel
Babel | NativeWind
The default babel configuration will both compile the Tailwind CSS styles and transform any component with the className attributed into a styled version.
www.nativewind.dev
아래 명령어로 패키지 설치 후에
npm install nativewind
npm install --save-dev tailwindcss
npx tailwindcss init
// tailwind.config.js module.exports = { content: ["./App.{js,jsx,ts,tsx}", "./src/**/*.{js,jsx,ts,tsx}"], theme: { extend: {}, }, plugins: [], };// babel.config.js module.exports = function (api) { api.cache(true); return { presets: ["babel-preset-expo"], plugins: ["nativewind/babel"], }; };tailwind.config.js 파일과 babel.config.js 파일을 위처럼 수정해주기
이때 Use process(css).then(cb) to work with async plugins 오류가 발생한다면
tailwindcss 버전을 다운그레이드 해야한다.
npm install tailwindcss@3.3.2 --save-dev3. 사용 방법
className에 스타일을 넣어주면 되는데
스타일을 여러개 적용하면... 정말 지저분해지고 솔직히 처음엔 좀 어려웠다.
하지만 클래스 네이밍을 하지 않아도 된다는 점, 부트스트랩처럼 미리 정해진 스타일 말고 내가 커스텀 할 수 있다는 점은 정말 좋은 것 같다.
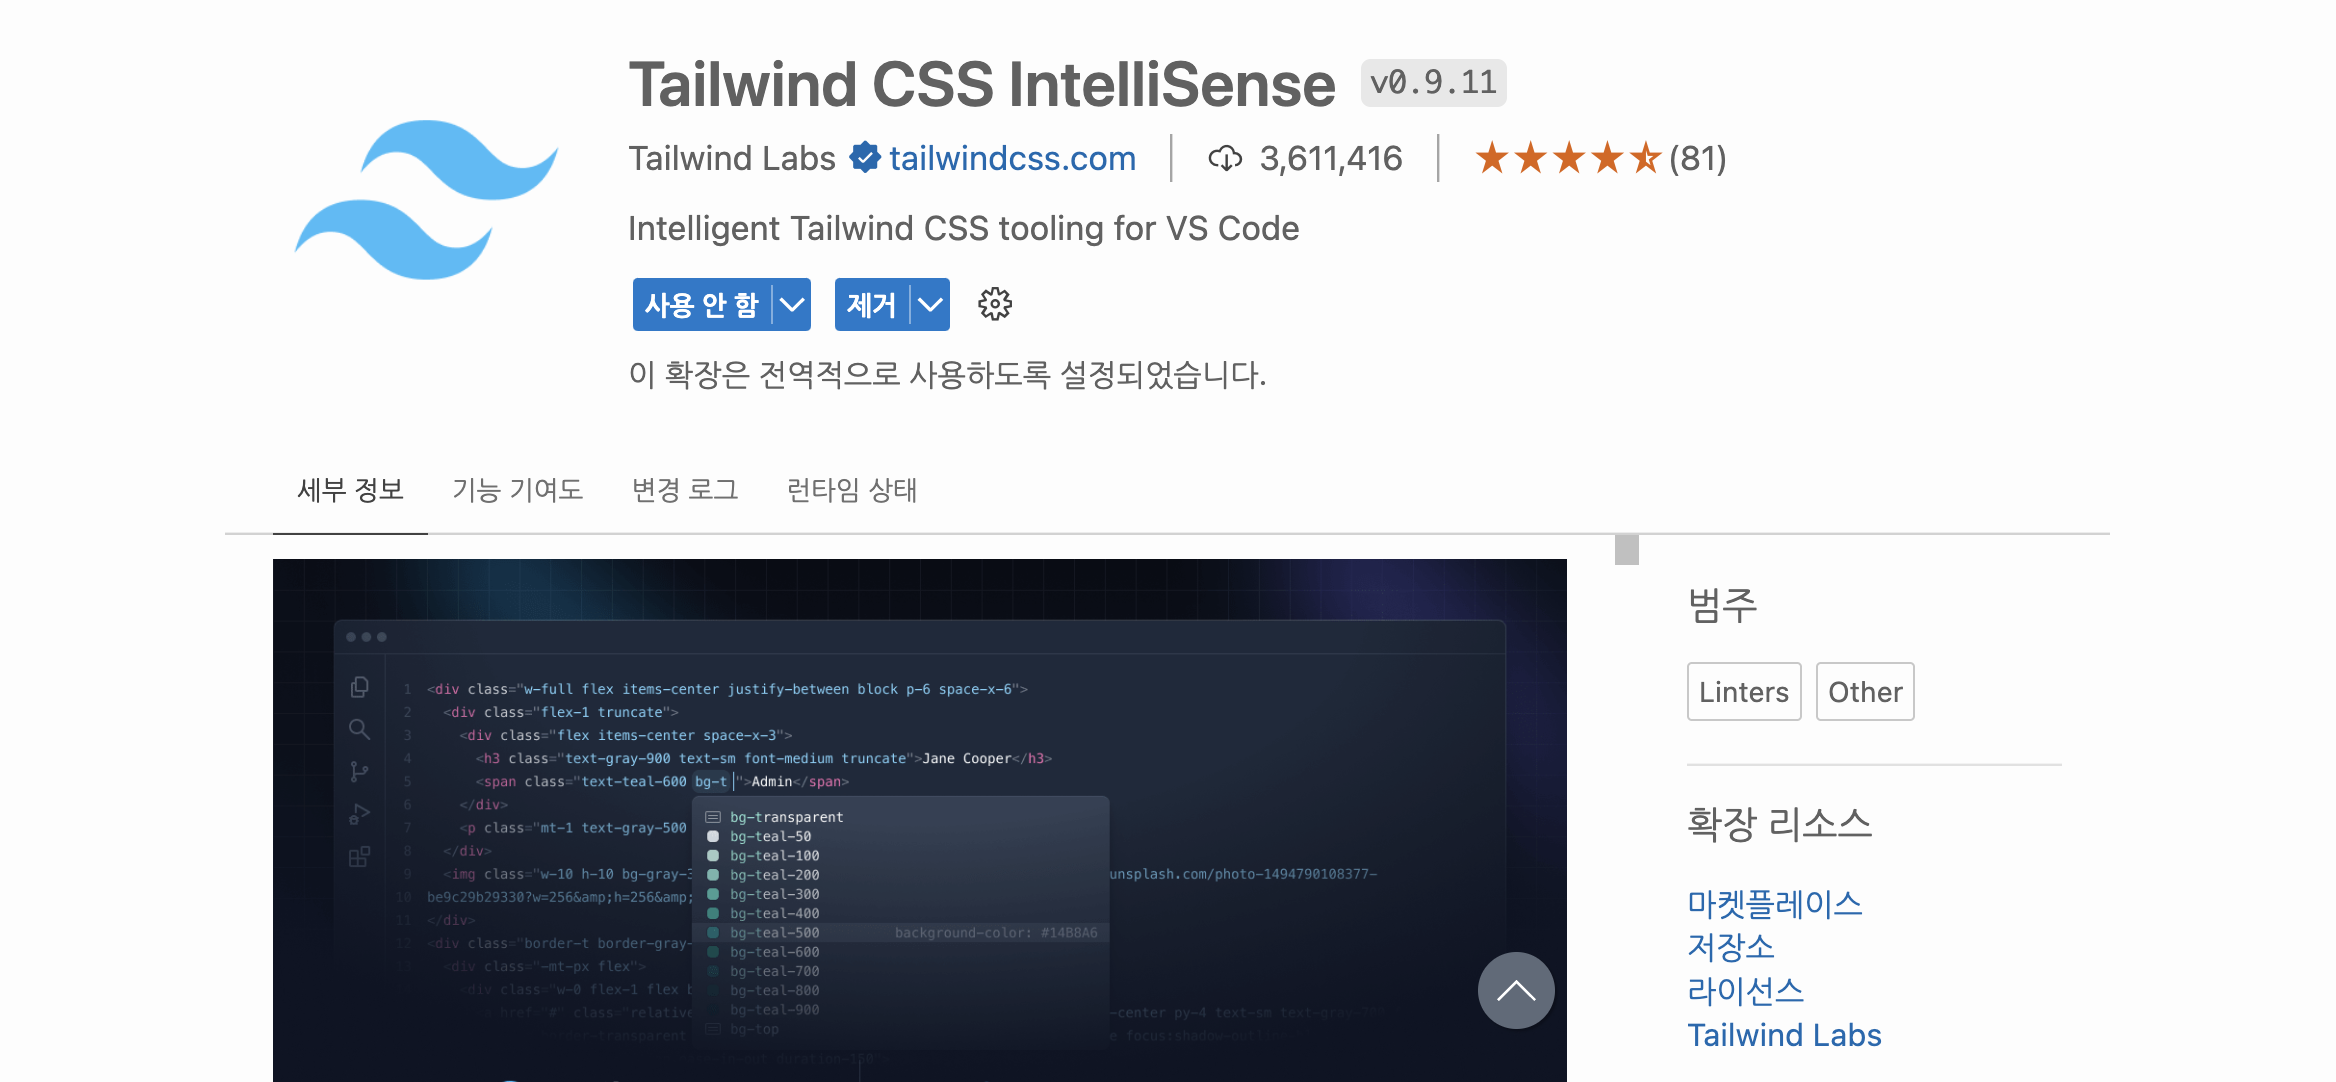
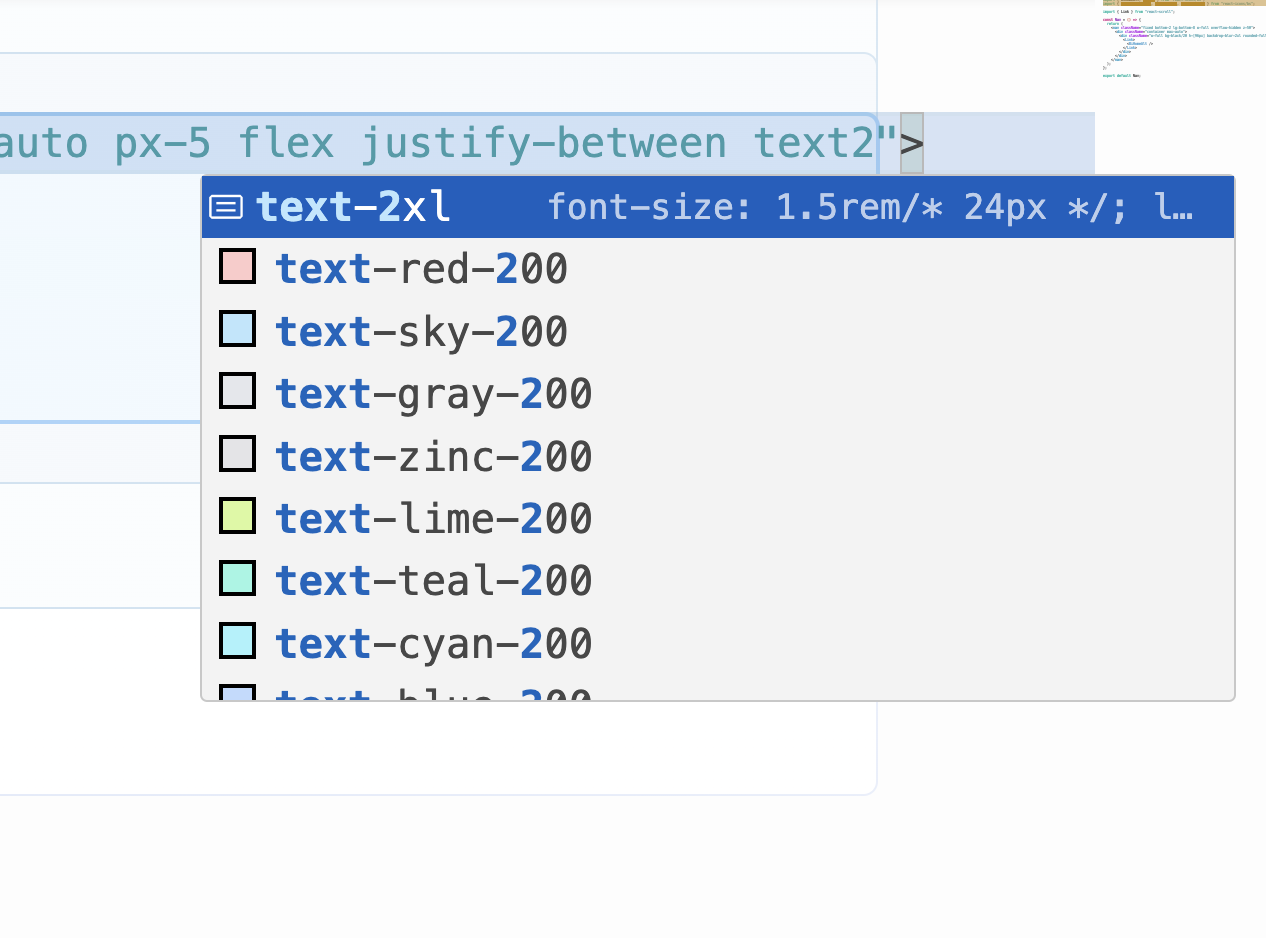
<div className="w-full bg-black/20 h-[96px] backdrop-blur-2xl
rounded-full max-w-[460px] max-auto px-5 flex justify-between text-2xl">
추가로 Tailwind CSS 플러그인을 사용해주면 스타일 입력 시 자동완성도 시켜주고 스타일 설명도 있기 때문에 꼭 설치하면 좋을 것 같다.
'React, Next' 카테고리의 다른 글
[React] Redux-Persist로 새로고침해도 데이터 유지하기 (0) 2023.08.05 [React] 리덕스 툴킷 Redux Toolkit 사용하기 (0) 2023.08.04 [React] Cloudinary 사용해서 이미지 저장하고 URL 받아오기 (0) 2023.07.04 [React] 체크박스 선택된 값(value) 확인하기 (0) 2023.06.29 [React] 하위 컴포넌트에서 상위 컴포넌트로 값 전달하기 (0) 2023.06.22 댓글
Written by Jieun
👩🏻💻 내 마음대로 Today I Learned